

How to Draw A Griffin Easily
How to Draw A Griffin. There are many weird and wonderful beasts and monsters in different legends and mythologies worldwide.
Also check our unicorns for coloring on our Official Website, The Soft Roots.
One of the most famous of these animals is the mighty griffin, thought to have its origins in Greek and Roman mythology.
This creature has the body of a lion while having the head, wings, and talons of a huge eagle. This means it looks cool, but it can also make learning to draw a griffin difficult.
That’s the purpose of this tutorial, and by the end, you’ll see how fun and easy it can be!
How to Draw A Griffin
Step 1
To start this tutorial on how to draw a griffin, we will first draw the animal’s head and beak. We will use an irregular line to outline the head and neck.
This gives the contour a softer, feather-lighter texture. We also use curved lines culminating in a pointed tip to give the griffin a sharp beak.
Finally, draw some eyes on the face, and then we can finish this step by drawing two pointed feathers sticking out from the top of the head.
Once all of these are drawn, we can move on to the second step of the guide.
Step 2
For this next part of your griffin drawing, we’ll add front legs to the creature. As mentioned, these are most often in the form of lion paws, but the ends end in some sharp claws.
Use rougher lines to create the rounded feathery tips of the legs as they appear in our reference image.
Next, we will use many small shapes connected to create the wrinkled paws of the griffin, and finally, you can draw the claws at the end.
Step 3
Griffins are almost always depicted with large, imposing wings, which we’ll draw in this step of our how to draw a griffin guide.
For now, we’re only going to draw the front of the wings.
The former extends up and back from the base of the head and, as seen in the reference image, is quite an impressive size.
Draw another curved line for the outline of the wing on the other side; then, you can finish by drawing another leg underneath.
Add some feather details to the chest, and then we can move on to step 4!
Step 4
In this part of your griffin drawing, you’ll add the last hind leg for the creature. Use more curved lines to draw the other back leg side by side.
This will also connect to the rest of the griffin’s back, and the tail will flow backward.
There will still be a gap between the wing and the griffin’s back, but we’ll fill it soon!
Step 5
Continuing this tutorial on how to draw a griffin, we will now add more feather details for the griffin’s wing.
To do this, draw many small curved lines along the edge of the front of the wings. As you get closer to the top of the wing, these lines can get bigger and longer to make them look like larger feathers.
Once these are drawn, we can add some final details in the next step of the guide!
Step 6
You’re almost ready to move on to the final phase of this drawing of the griffin. First, we need to add a few elements.
We’re going to draw the rest of the wings. We’re going to do that using a lot more long, curved lines to create more feathers.
These feathers are significantly larger than any of the others you’ve drawn so far, and they fill in the final space between the body and the wing.
When you’re done with the pattern, you can add some details and elements of your own!
You could draw a background or add other mythological creatures to get some ideas.
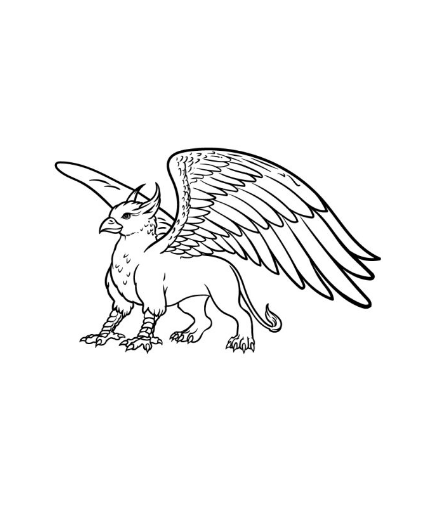
Step 7
This is the last step of our guide on how to draw a griffin. We will finish it by adding some colors.
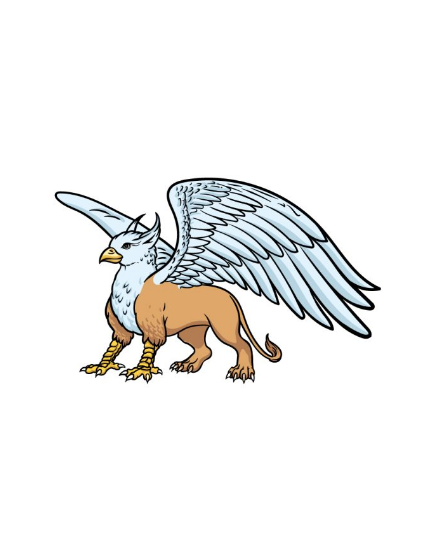
Our reference image used a brown color for the lion’s body parts.
We then used some yellow for the eagle parts of the legs and beak, and finally, blue and gray for the feathers on the head and neck.
Your Griffin Drawing is Finished!