
How To Draw A Milk Carton
How To Draw A Milk Carton There are objects that the majority of us will go over essentially consistently. Milk containers are one of them, as a large number of us use milk for everything from hot beverages to breakfast grains to baking. Frequently the items we realize best are the ones that can be the hardest to draw. This can make figuring out how to draw a milk container perhaps surprisingly troublesome. Even though it could be surprisingly hard, that doesn’t mean it isn’t possible, and it’s simpler assuming you know what to do. That is the precise exact thing we’re holding back nothing guides you find before you! Our bit-by-bit guide on the most proficient method to draw a milk container will show you that drawing this regular item can be fun and simple. If you are looking for drawing ideas, cool drawings, cute drawings, drawing for kids, cartoon drawings, girl drawing, 3d drawing and many more, then you are at the right place, here you will get all of these drawings.Cute Nail Polish Drawing
Stage 1:
For this aid on the most proficient method to draw a milk container, you should have a ruler helpful, as we’ll define a few straight boundaries. This is unquestionably valid for this initial step of the aide, and we’ll begin by drawing a straight, vertical line for the milk container. Then we will define two additional a lot more limited boundaries over this middle line for the highest point of the cardboard. At long last, you can add a flat line for the top edge of the cardboard.
Stage 2:
In this piece of your milk container configuration, we’ll add somewhat more to the highest point of the container. Once more, a ruler would be useful for this step! Begin by drawing the cap of the milk container, which you can do by adding a circle with a couple of straight lines on it to give the presence of profundity. At last, complete this step by drawing the leftover edges of the highest point of the cardboard. It could look a little stripped down right now, yet we’ll add subtleties to it in no time!
Stage 3:
The explanation drawing normal items like this can be precarious is that there are a couple of little subtleties that can be interesting to get right. We will zero in on one of these viewpoints in this step of our aid on the most proficient method to draw a milk container. Begin by defining a short inclining boundary from the middle top corner of the cardboard to the top fold. Define one more boundary inside this triangle you made for some profundity. At last, finish this step by defining a straight boundary on the right side as well as the foundation of the cardboard, and add some line subtleties to the cap.
Stage 4:
We will wrap up framing your milk container configuration in this step, and fortunately, it ought to be a simple task to do! Simply utilize your ruler to define the boundary for the left half of the milk container, then, at that point, add another for the foundation of that as well. It’s as simple as that, you’re currently prepared to add brightening subtleties to the milk container in the subsequent stage.
Stage 5:
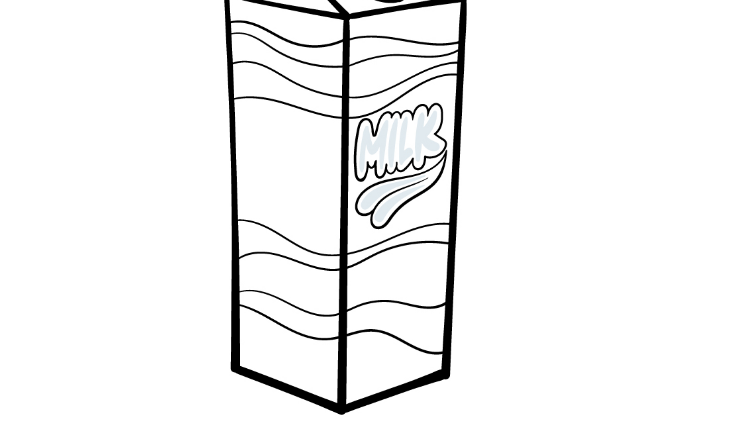
This fifth step of our aid on the most proficient method to draw a milk container will be to add a few brightening subtleties for the sides of the container. side and front of the container. These are the subtleties we picked, however here you could transform them! There are many lines, text decisions, and different subtleties that you can use to make a one-of-a-kind picture. One more method for doing this is to draw a foundation, and one thought is to draw other breakfast food varieties and beverages close to this milk container. It’s simply a thought, yet what else could you at any point consider to complete this picture?
Stage 6:
This is the last move toward your milk container drawing, and in this one, we’ll polish off with some tone. More than whatever other move toward this aide, this is where you can truly get a move on with your own imaginative decisions. We went with a cooler variety range for our milk container and did so utilizing light blues, greens, and yellows. These are simply ideas, however, and you ought to utilize the varieties you like. Loads of opportunities by the way you decide to variety it, so have a good time getting inventive! We can hardly hold on to see what you’ll do.
also read: Benefits Of Native Android App Development